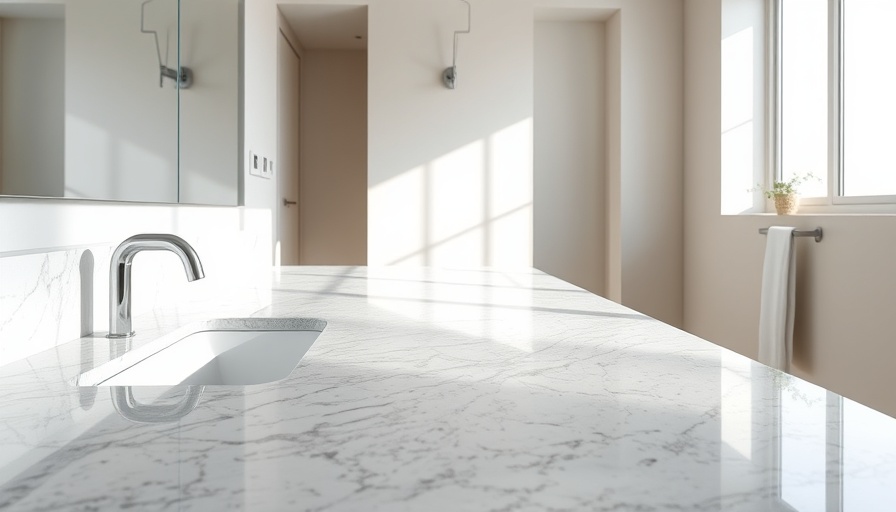
Transform Your Kitchen with Concrete Countertops
Are you ready to elevate your kitchen with a modern masterpiece? The allure of concrete countertops is undeniable, offering a sleek, industrial-chic appeal that can entirely transform your culinary space. This guide will equip you with the knowledge you need to successfully install concrete countertops, from preparation to execution.
Essential Tools and Materials
Before diving into installation, having the right materials and tools is crucial. Here’s a rundown of what you will need:
- Concrete Mix: Opt for a high-strength self-leveling mix for a smooth finish, or fiber-reinforced mixes for added durability.
- Reinforcement: Beyond steel rebar, consider glass fiber-reinforced polymers (GFRP) for corrosion resistance in damp environments.
- Admixtures: Enhance your concrete's performance with admixtures that improve workability and freeze-thaw resistance.
- Tools: A power trowel with laser guidance for precision, and a concrete vibrator with variable frequencies to eliminate air bubbles.
- Moisture Meters: Keep track of moisture levels to ensure optimal curing conditions.
The Importance of Accurate Measurement
Accurate measurement is the cornerstone of a successful countertop installation. Use a laser tape measure for precision, and adhere to the adage, "measure twice, cut once." Consider all aspects of your countertops, including depth and any irregularities in your kitchen layout.
Step-by-Step Installation Guide
Building your own concrete countertops may seem daunting, but with a clear plan, it’s entirely manageable. Here’s a simplified step-by-step process:
- Create Molds: Construct molds using melamine-coated particle board to ensure smooth surfaces. Ensure the molds are level to avoid uneven countertops.
- Mix and Pour Concrete: Use a high-strength concrete mix specifically designed for countertops. Pour half into the mold, insert reinforcement, and fill up. Level the surface for a smooth finish.
- Remove Air Bubbles: Tap on the mold and use a vibrator to get rid of any air pockets, crucial for a durable surface.
- Cure Time: Allow the concrete to cure adequately—generally around a week— before removing the molds.
- Finishing Touches: Sand the surface, applying a slurry if necessary to fill in any voids, and seal to protect against stains.
This process may take some time, but the resulting countertops are not just durable; they provide a unique aesthetic that complements any kitchen.
Maintenance and Longevity
Concrete countertops, while stunning, do require maintenance. Regular sealing—typically once a year—is essential to prevent stains and maintain the surface's vibrancy. Though they can crack, proper mixing and handling can mitigate most risks involved.
Conclusion: Your DIY Journey Awaits
Installing your own concrete countertops is a project that can revolutionize your kitchen. With the right tools, careful planning, and execution, you can create a unique and stylish feature that not only enhances your home’s value but reflects your personal style. Ready to embark on your DIY adventure? With these insights, you’re equipped to tackle this project head-on.
If you’re considering professional help, look for home remodeling services near you that can support your vision and help make your kitchen dreams a reality.
 Add Row
  Add
Add 


Write A Comment